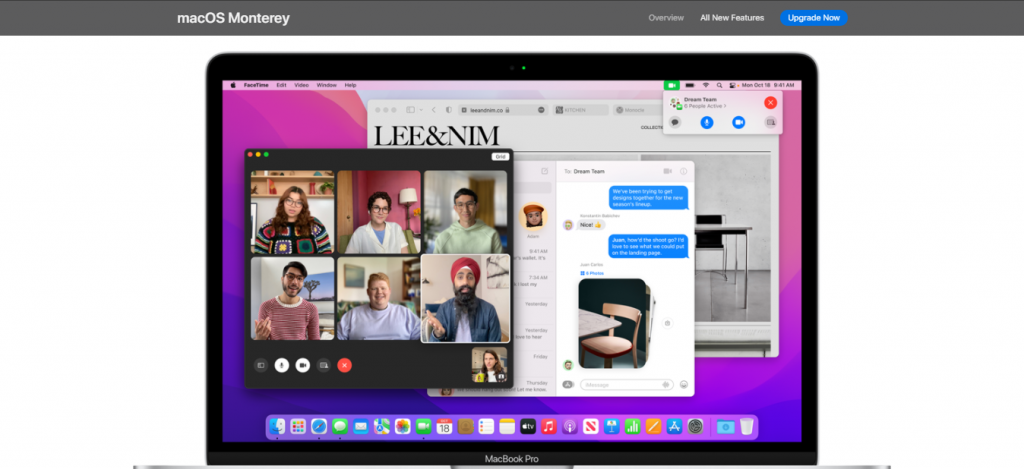
The macOS Monterey is the newest OS from Apple that will arrive for public users on Oct 25. Many people are interested in installing this software because it promises new exciting features and updates compared to any older version.
It sounds fantastic, but what if you want to come back to the previous system again? Unfortunately, many users do something before they know about a way back, just in case. But do not worry, you will be provided with the most effective tips on this subject!
The new macOS Monterey is full of new features, and we are sure that many users have already tried it on their devices. But do all of them like it? Probably not, because many people are searching for tips on downgrading back for their previous OS version.

Reasons can be different: some of them cannot get used to the new features, some have problems with non-compatible apps, and some may expect from Monterey too much, who knows? In any case, without a detailed guide, you will not be able to downgrade successfully.
That’s why we offer our complete instruction on how to come back to the previous OS version you had installed on your Mac without data loss. Follow all the steps correctly to get a brilliant result!
Table of Contents
The Main Requirements
Before you start doing something, please check out you have all the needed things:
- A Mac device with the Monterey operating system.
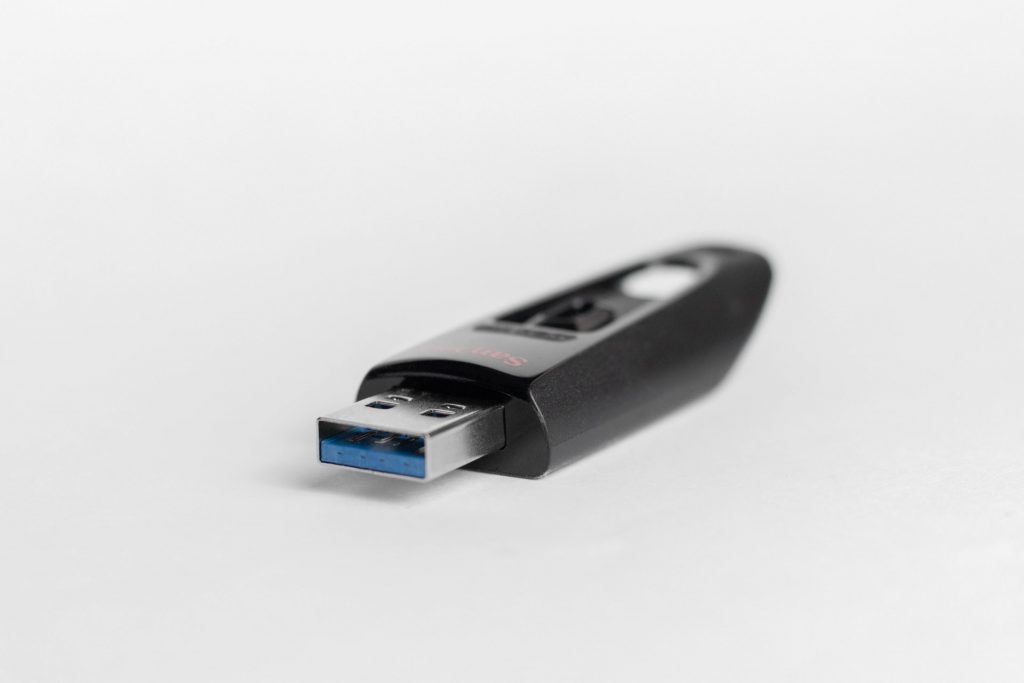
- Check out if you have a USB drive of 16Gb capacity or more. It will be necessary to make an installation disk for the new OS.
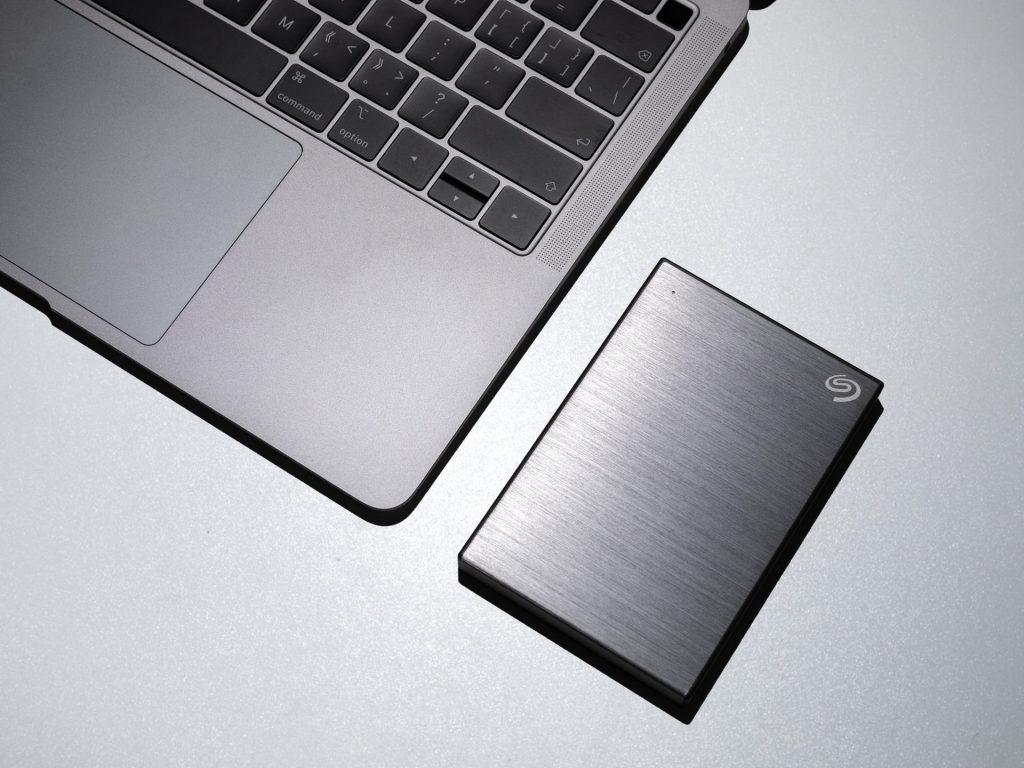
- External disk drive (or use cloud storage) to create a backup of your current files you save on the Mac.
Create Data Backup

When you install another OS, you will have to erase your device’s drive before it, so you need to save all your data. Check if you have copied all the critical files in iCloud folders, or create a backup of this data. You can use Time Machine to make a backup of all your files on the computer.
It’s the best option we recommend. If you want to remember all the applications installed on the Mac (after the new system is installed, you will have to install them again), try to open Launchpad and then take screenshots of pages there. Then place these screenshots in any of the folders in your backup so that you can find them later.
Download the Operating System
First, you need to download Big Sur from the App Store (you will need the installed file to create the installation disk for your computer). Make sure that your computer is compatible with the system you want to install.
Create Your USB Installer

When your important files are backed up and the installation of the Big Sur is downloaded on the Mac, you can create a bootable USB installer disk that will help install the new operating system on the device properly.
Make sure your USB drive doesn’t contain any vital information because before you start anything, you will have to format the USB drive.
Install the New OS
Then, shut down your device and boot it into Recovery mode to install the Big Sur from the flash drive. Of course, it will take some time to install the new system, and when it is completed, you will have to set your region, country, Apple ID, and other information like you did when you turned on your Mac for the first time.
Of course, do not forget to restore all the information you have backed up and install all the needed applications on your computer using taken earlier screenshots as valuable hints.
That’s all, and as you can see, the process of downgrading isn’t as tricky as some users may think. You can also use this link to downgrade your Mac without any problems!


